The Expenses mobile app allows you to upload expenses from your mobile phone, including photos of receipts.
Installation of Mobile Expenses App
- Install the app.
- When you launch the app for the first time, you will need to enter the URL address for Selkirk.
- https://ubw.unit4cloud.com/ca_skc_prod_webservices/
- Be sure to enter the entire URL, including the initial https:// and final forward slash /
- Log in with your Selkirk email, the same way you do in the web browser U4ERP.
Expense Reimbursement and Travel
- Login to mobile app. The main screen will appear. This is where you will be able to upload receipts, expense lines, PCARD expenses and mileage.

2. Choose which type of expense you would like to submit - Mileage or Expenses (travel or expense reimbursement)

3. To enter an expense, choose the expense type you would like to submit. Enter the corresponding information for your expense and upload a receipt.

Info
NOTE: All expenses categories will show in this screen. Unless you are submitting a PCARD expense, DO NOT use the PCARD expense types. These are for PCARD statements and you will not be paid out for these expenses
4. To upload a receipt, click on the camera icon the screen. This will bring up the camera on your phone and you will be able to take a picture of your receipt for your expense. There will be buttons at the bottom of the screen to either retake or use the picture of your receipt. The picture of your receipt will show under the expense.
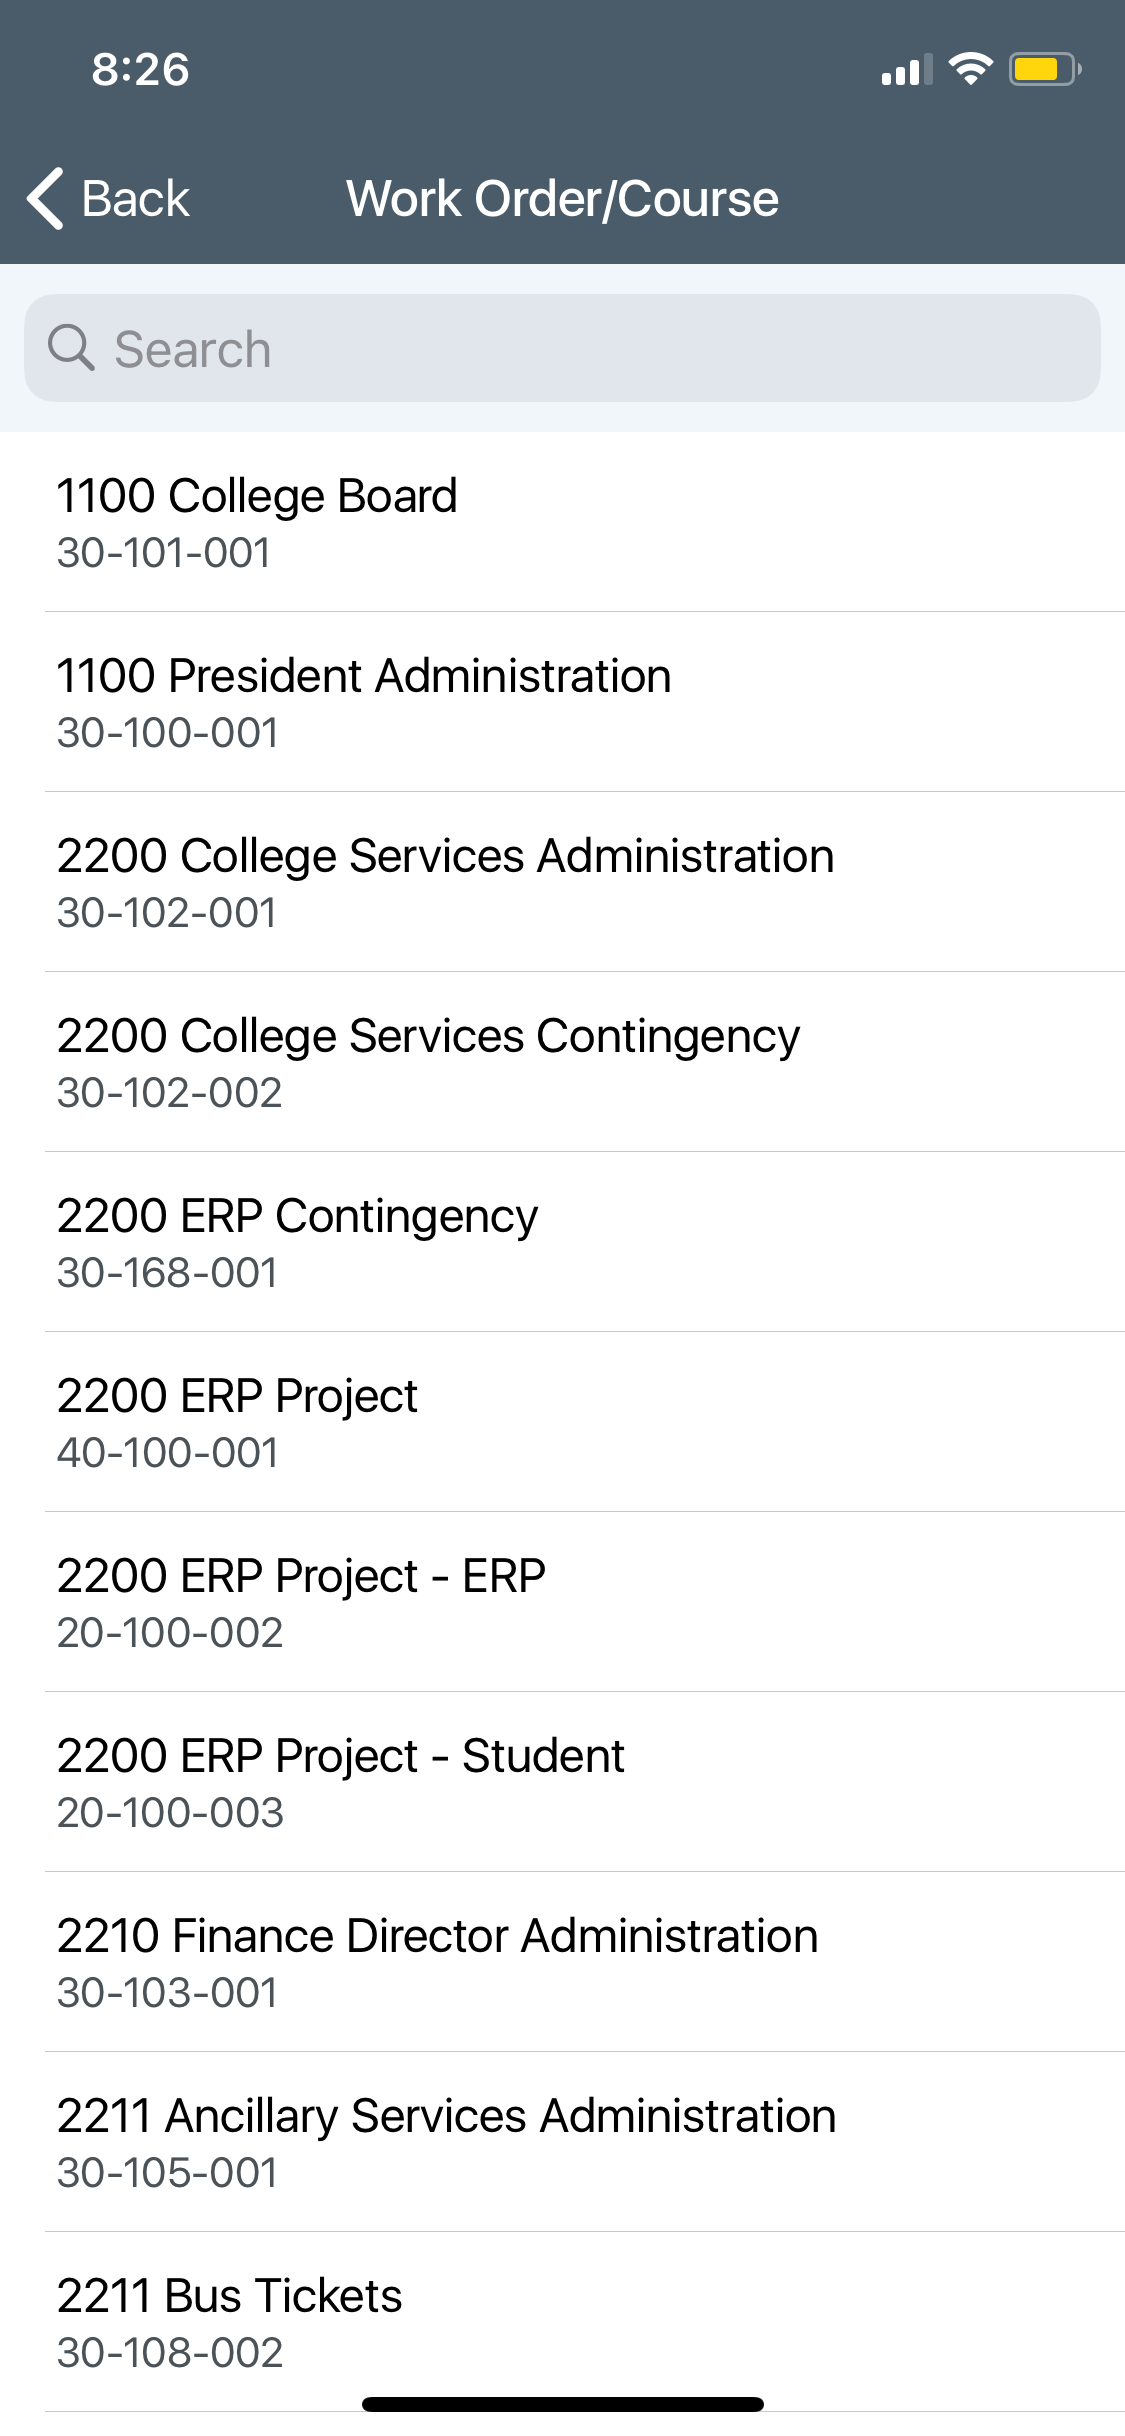
Fill in the date, description, amount and work order for your expense. You will be able to search for your work order if needed.

5. Once your expense has the correct information entered, click Save to save your expense
6. The expense will now appear on your home screen to sync to the web

7. Once the expense has been synced to the web, it will show under the Expenses uploaded to Unit4 ERP section

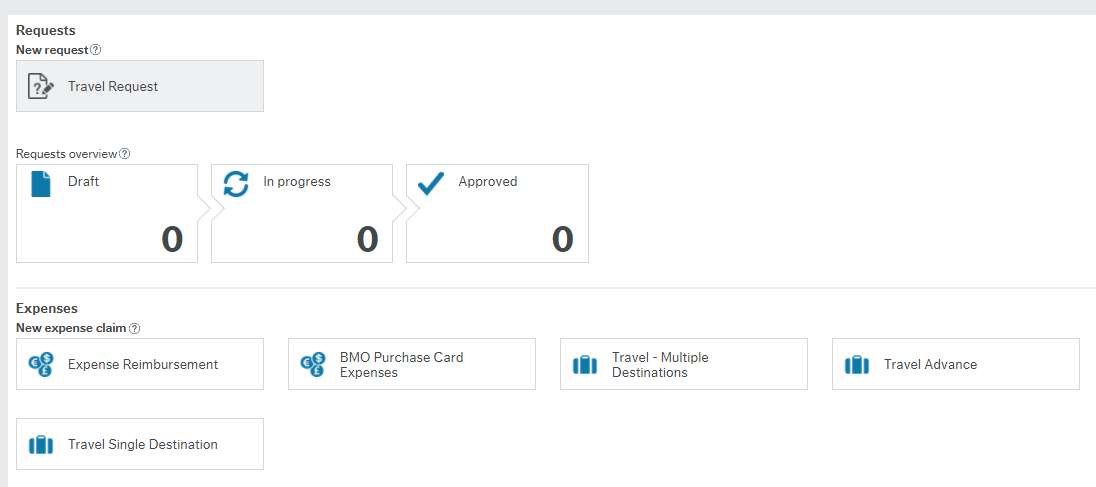
6. To find your mobile expense, navigate to Unit4 on your desktop. Navigate to My employment → Expenses. Choose the type of expense you would like to submit (Expense Reimbursement, Travel Clearance or Travel Advance - see PCARD - from Web for instructions on how to enter your PCARD expense) Under your expense overview, the line will appear under the mobile icon. Click Show Transactions and import the lines you want into your travel expense.

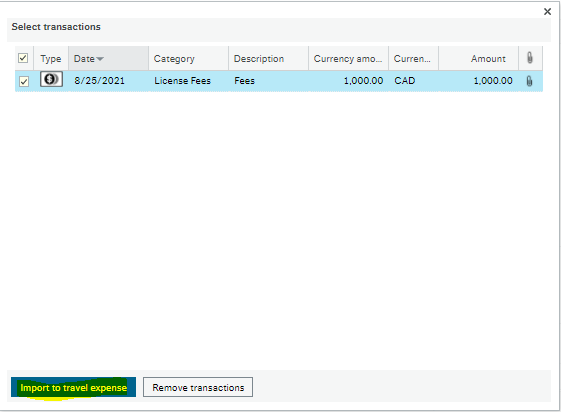
7. The expense lines will now be imported into your travel expense, including the receipts you uploaded. Fill in the appropriate outstanding information and send for approval as you would your other expenses. The receipt you uploaded from the app will also appear in your expense.

Mileage
- Open Unit4 Expenses app. Click Mileage at the top of the screen
2. Once the mileage screen opens click Enter Route Manually.

3. The screen will bring up a From and To box for you to enter your destinations for mileage. Search in the fields for the destinations for your mileage claim and click done once they are entered. NOTE: Please enter your mileage from address to address. For a return trip, pull down on the 'To' box and enter your waypoints.


4. The travel route will appear on the screen. Click done if the destinations shown are correct. If needed, click edit to edit the route you are submitting your mileage claim for.

5. The mileage claim will now appear in your expenses. Ensure you change the date of the mileage claim to the date you travelled to those locations. The google maps will automatically be attached to your claim. Once your mileage claim has been updated, Click Save.

6. Your mileage claim will now show on your main screen in the app. It will Sync and upload onto the web. Navigate to Unit4 on the web and go to Expenses. Choose the expense type you have submitted.
7. The expenses will show under expense transactions. Click Show Transactions.

8. All of the expenses you have submitted from the app will appear in this screen. Select the transactions you would like to bring into the expense and Click Import to Travel Expense


Info
If you are submitting a mileage claim as an executive, ensure you change the mileage on the dropdown to Mileage for Executives

9. Enter the information under the Purpose fields for your claim. Ensure you enter the correct work order for your mileage claim

Info
If you require multiple work orders for your claim, click on the arrow on the expense line you would like to change. This will bring up the work order field and you can enter the new work order into the field. NOTE: You DO NOT need to enter GST for mileage claims.

10. Once your mileage claim is complete, click Send for Approval at the bottom of the screen.