Page History
- Navigate to "My Employment" >"Expenses".

- Select "Expense Reimbursement" on the menu.

- Enter information into the following fields
- Purpose (i.e. Mileage for May)
- Date (leave as defaulted)
- Employee (i.e. your name)
- Work Order (i.e. your work order)

- Click “Add Expense” at the bottom of the screen to start adding lines for Mileage:

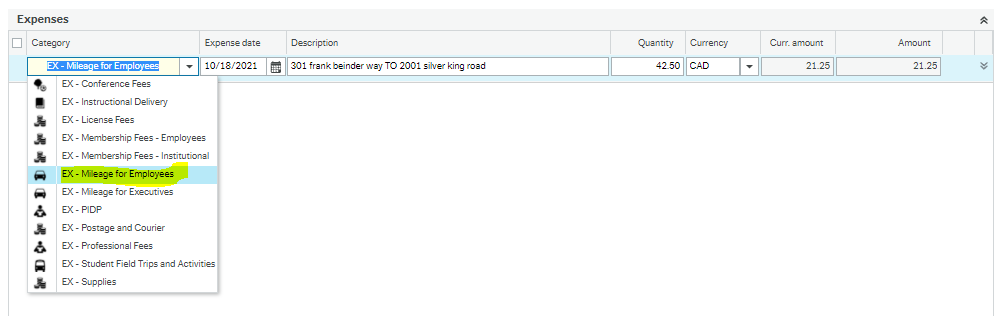
- Under Category, select the appropriate option from the dropdown (i.e. "Mileage for Employees").
- Complete the following fields:
- Category (i.e. Mileage for Employees)
- Expense Date (i.e. date of travel)
- Description (i.e. Address to Address)
- Quantity (KM’s) (i.e. 94)
- The dollar amount for the mileage will auto-calculate in the last column based on the mileage type you select.
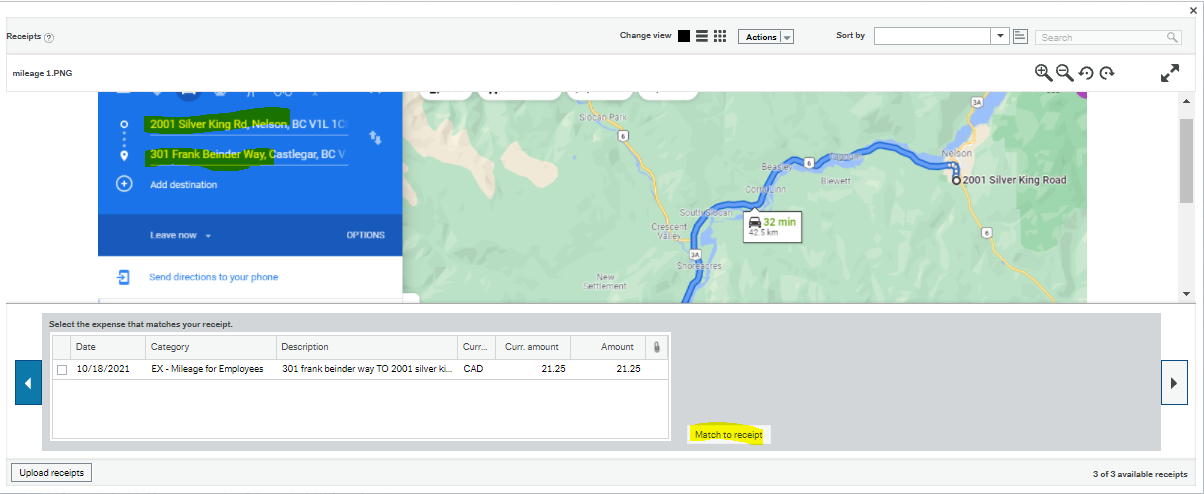
- Receipt (Attach a receipt of the google maps showing address to address for the trip)
- Click "Add Expense" to start a new line and repeat steps i - iv above. Create one expense line per trip. You can start a claim and save it as a draft to add additional trips, ie submit one mileage claim per month.
- Complete the following fields:
- Once all the lines have been entered for your mileage, click "Send for Approval" at the bottom of the page to submit.
- If your submission was transmitted successfully, a green box will appear and a transaction number will be assigned to the expense.

| Info | ||||||||||
|---|---|---|---|---|---|---|---|---|---|---|
| ||||||||||
|